THE ARRAN BOATS BLOG
Orkney 520 30hp Mariner trailer refitting for sale
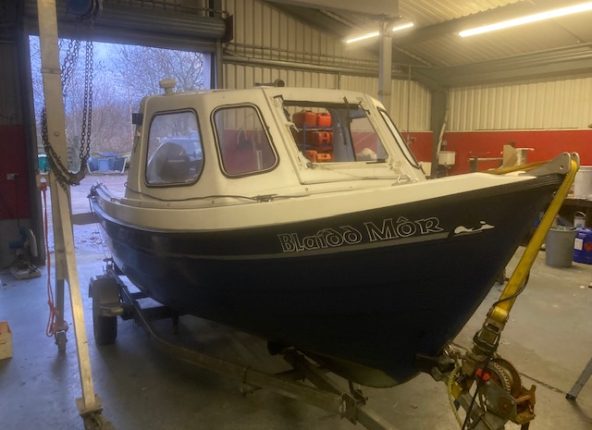
I bought a Orkney 520 on a roller trailer with a 30hp Mariner on it to refurbish for resale.
The first job was to get it stripped out and turned over as the keel bands were loose.Several heads of the screws had pulled through and the sikaflex had failed after 20 years underwater.
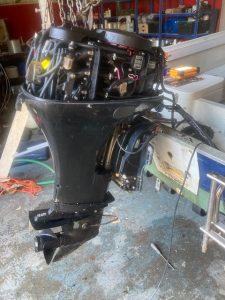
The boats too heavy t flip so the first job was to remover the engine using a overhead hoist.I took the control cables off complete with the control box to save undoing everything.
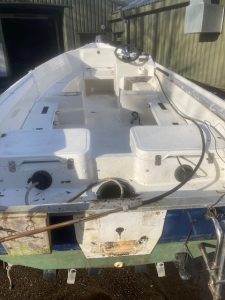
With the engine off the cuddy and bolt on seats were next to be removed.Using two overhead hoists chain blocks and a few ropes and slings I can flip the boats with no physical effort at all.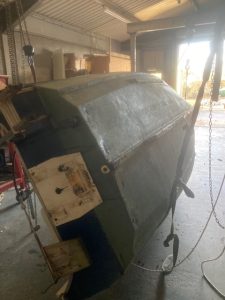
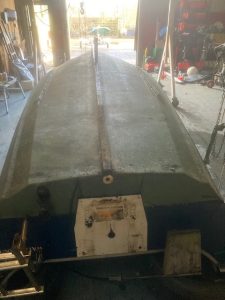
Once upside down and lowered onto several old shogun tyres its time to inspect the hull.I was delighted to find this one was far better than expected with no damage and no fibreglass or gel coat repairs required.
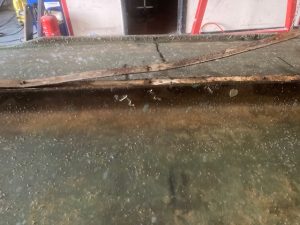
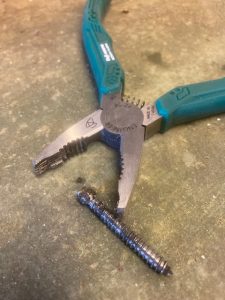
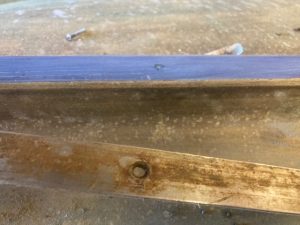
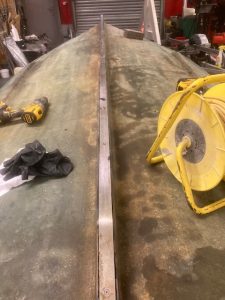
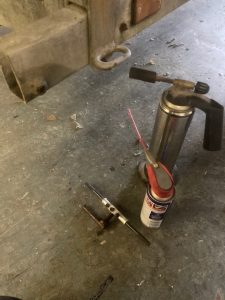
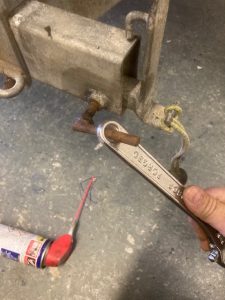
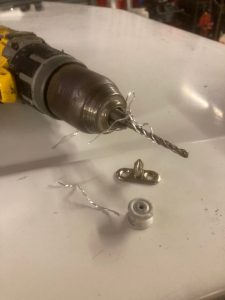
The keel bands were solid but several screw heads had pulled through.I bought a set of screw pliers which are made especially to remove old broken screws.This was the first time I tried them and I got all but one of the snapped screws out.Once removed the old sealant was removed and the keel sanded to help the new sealant bond.It was all then cleaned with acetone.
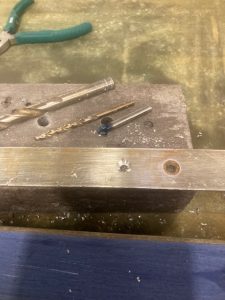
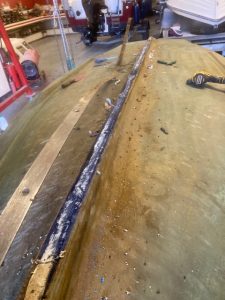
Next to where the broken screw head was I drilled another hole and countersunk it.I use a 5mm drill for no 10 screw and do most of the countersink with a 10mm drill.The last bit of countersink I do with a specialist 10mm dia countersink bit to get the angle of the hole correct.These bits are expensive which is why I use a cheaper 10mm drill for most of the process.Cobalt drills are best for stainless steel.
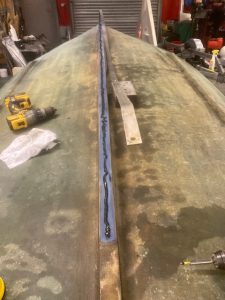
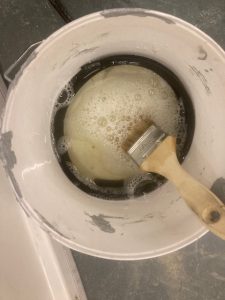
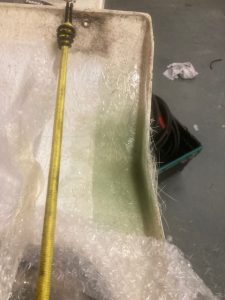
Using sikaflex put a bead on the keel and then spread it over the area with a spreader.
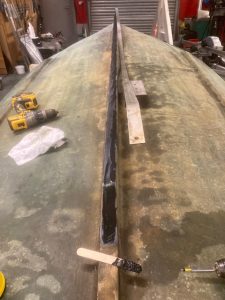
Starting at the bow end I put fresh 40mm screws back into the original holes

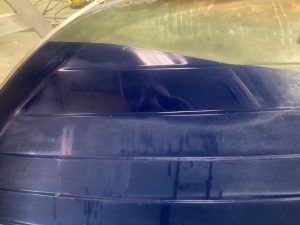
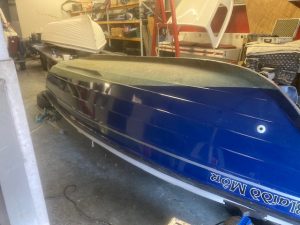
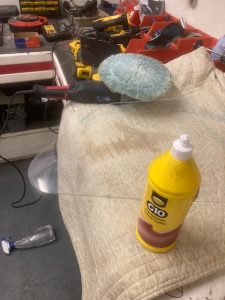
Its difficult to appreciate from the below pics how well this boat is polishing up.I use G3 polishing compound and a electric mop to restore the colour.

I was just interrupted by a customer who has bought the boat today.He wants me to put it back together for him so at least I can complete the blog for anyone who is interested.
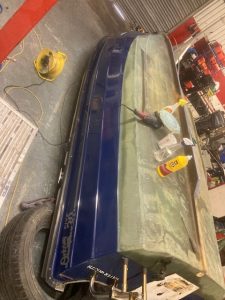
As can be seen below I finished the polishing of the port side.
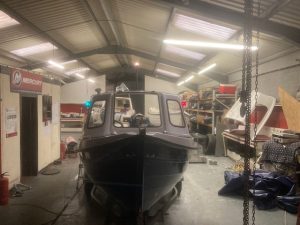
The other pics show it in the process of getting turned back over the right way u
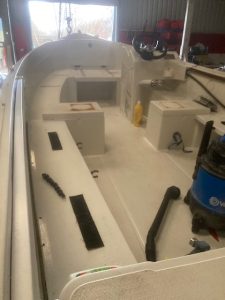
I have started cleaning the top deck and inside of the boat using nothing more than a spay on bottle of elbow grease and some G3 rubbing compound.
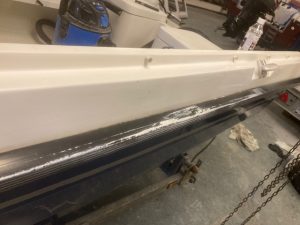
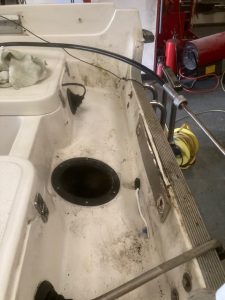
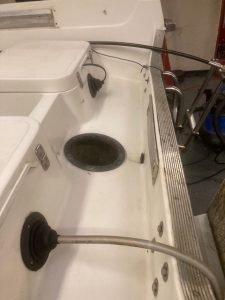
The splash well is pretty grubby and the rubbing strake is covered in overspray from a paint can following somebody repair to the gunnel.
It can be removed using acetone but it does bite into the rubber so try white spirit first and use acetone as a last resort.
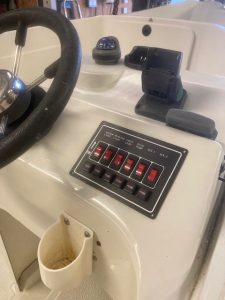
The old fuse box was shot so luckily I shopped about and found a different make with the same dimensions,Why make life difficult for yourself.
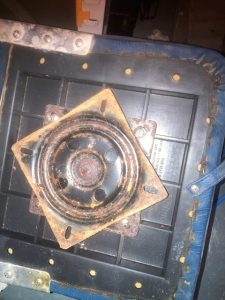

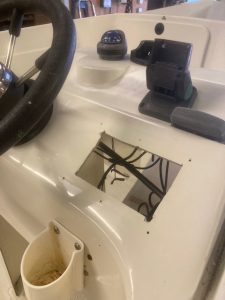
The swivel seat bases were plain steel and don’t last two minutes in sea water leaving rust everywhere.
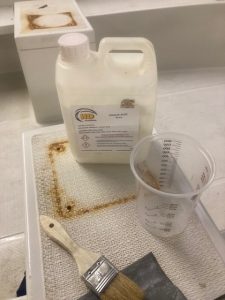
I only use stainless ones on the Arrans.However the stains can be removed using oxalic acid but be careful it burns and the fumes are dangerous as well.That was after just one treatment you can repeat the process if needed.
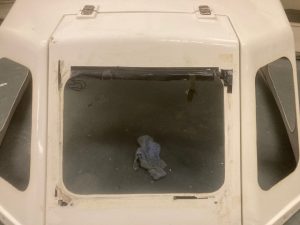
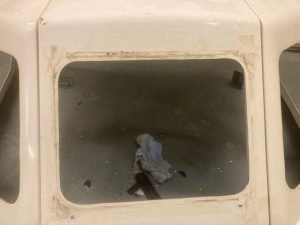
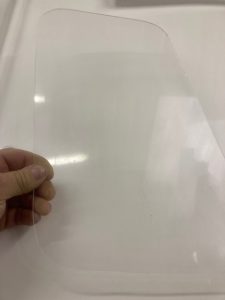
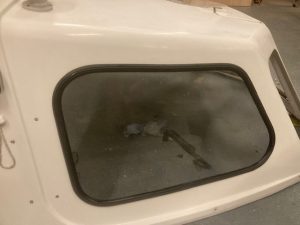
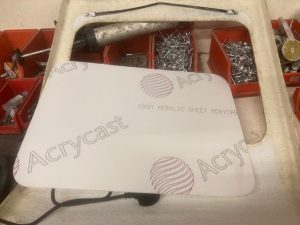
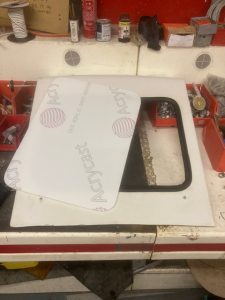
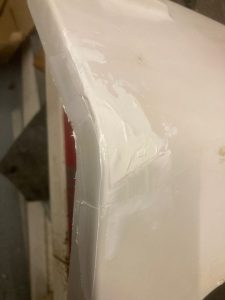
The front window was missing on the boat so I will make and fit a new one.It took a while to get the duct tape off the hatch surround which had been holding something in place.The cuddy has been cut back with G3 compound and is ready for the windows.
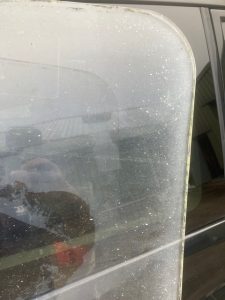
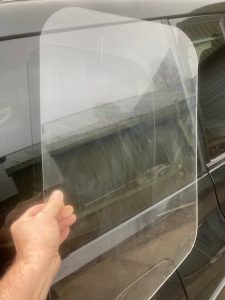
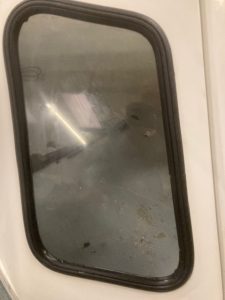
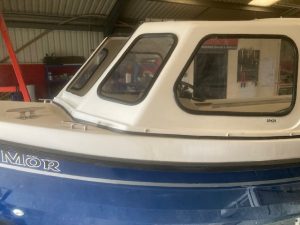
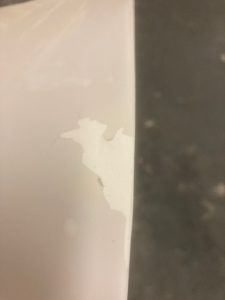
The pics above show a before and after shot of a side window.It was covered in paint overspray the same as the rubbing strake.All I did was wash it clean and then compound cut it with G10 and an electric polisher.It took all the paint off without scratching the window.
DO NOT use acetone on these windows as it turns them white and you cant see through them anymore.

This is a side window that required the same treatment.Its a fast process and saves the effort of having to replace the windows.Its not the expense its the time and effort required to cut a new window to size.
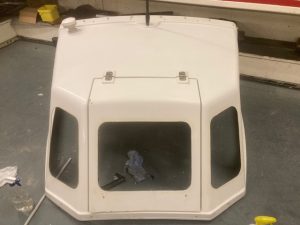
I have just put the 4 original windows back in the cuddy.The window rubber I used has a 3mm panel gap and a 3mm window gap.If you haven’t put windows in before it looks easy but can be very frustrating.I find a set of car trim removing tools handy as well as a bucket of hot soapy water.
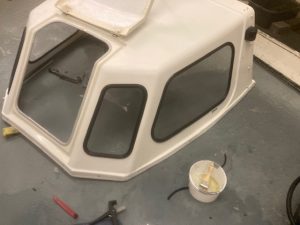

I now have the cuddy back on the boat.Several of the fixing screws down the starboard side had no grip anymore so I used sikaflex to glue it on with.
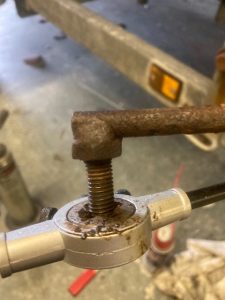
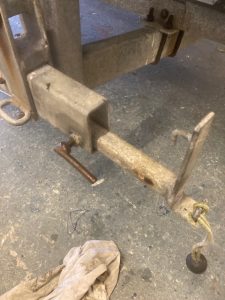
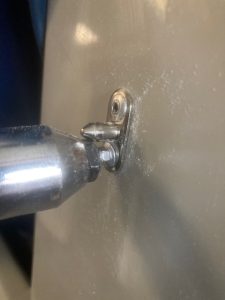
The lighting board extension arms were stuck solid in the in position due to seized retaining bolts.After a soaking in WD40 and the application of heat and some extra leverage they came free.I then ran the bolt threads through a dia set to clean the threads up
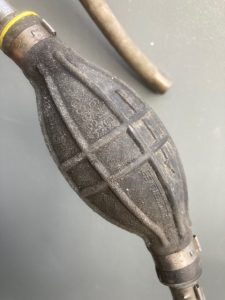
While the fuel bulb still worked fine its clearly at the end of its life.Simply replace anything like this that might be about to fail its not worth the grief or danger it can cause.
The boat came with a new cover but the fittings are different.
I have to use a 4mm drill to remove the plastic button style fixings which are riveted to the cuddy.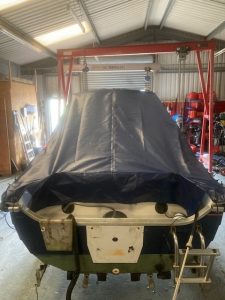
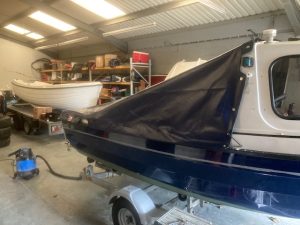
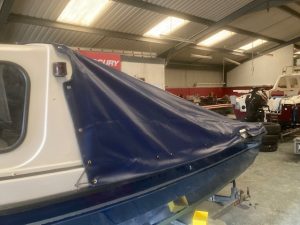
The boat cover was a good fit and most of the new fittings covered the old holes up.I put a rivet in the few holes that were not covered as they often look less obvious than filling the hole with filler of a slightly different colour,
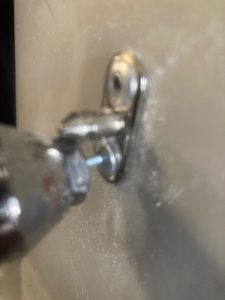
Little tip when the rivet gun wont fit all the way down to the flat of rivet I put a small nut over the rivet shank.It makes up the difference and allows the rivet shank to snap correctly.
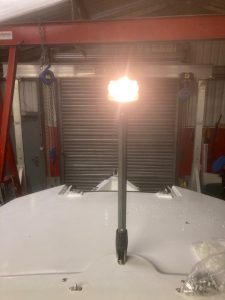
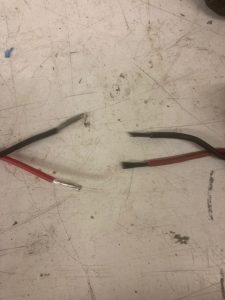
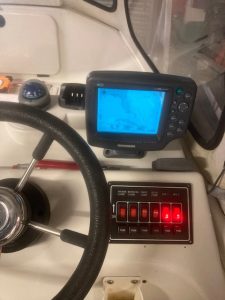
Just finished wiring in the nav lights, anchor light, fish finder, gps and compass light.The main wire from the battery was badly corroded.As can be seen in the above picture the core of the wire on the right is black rather than copper coloured.The wire on the left is marine grade tined wire and far more corrosion resistant.
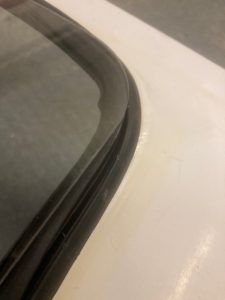
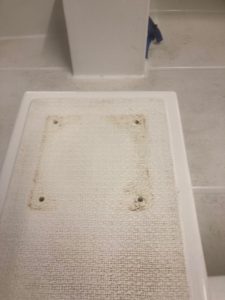
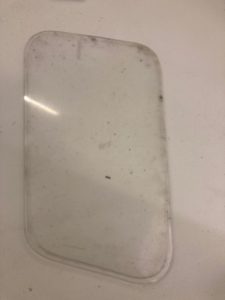
The previous owner had bought a new hatch window but never fitted it.Lucky for me it came pre-cut from Orkney and it was a perfect fit.I also had to repair a small crack in the corner of the hatch.The bungee is just to keep tension on the joint so it stays closed while the fibreglass sets.I will fill the gelcoat side of the crack using get coat filler and then the boats done.


There is a clear difference in colour between the old faded gel and the new gel coat filler.You can play about for ages mixing different gels until you get a better match or as I only had the one repair to do leave it as is.The other option is to mix paint and colour match the repair before overpainting it.
